
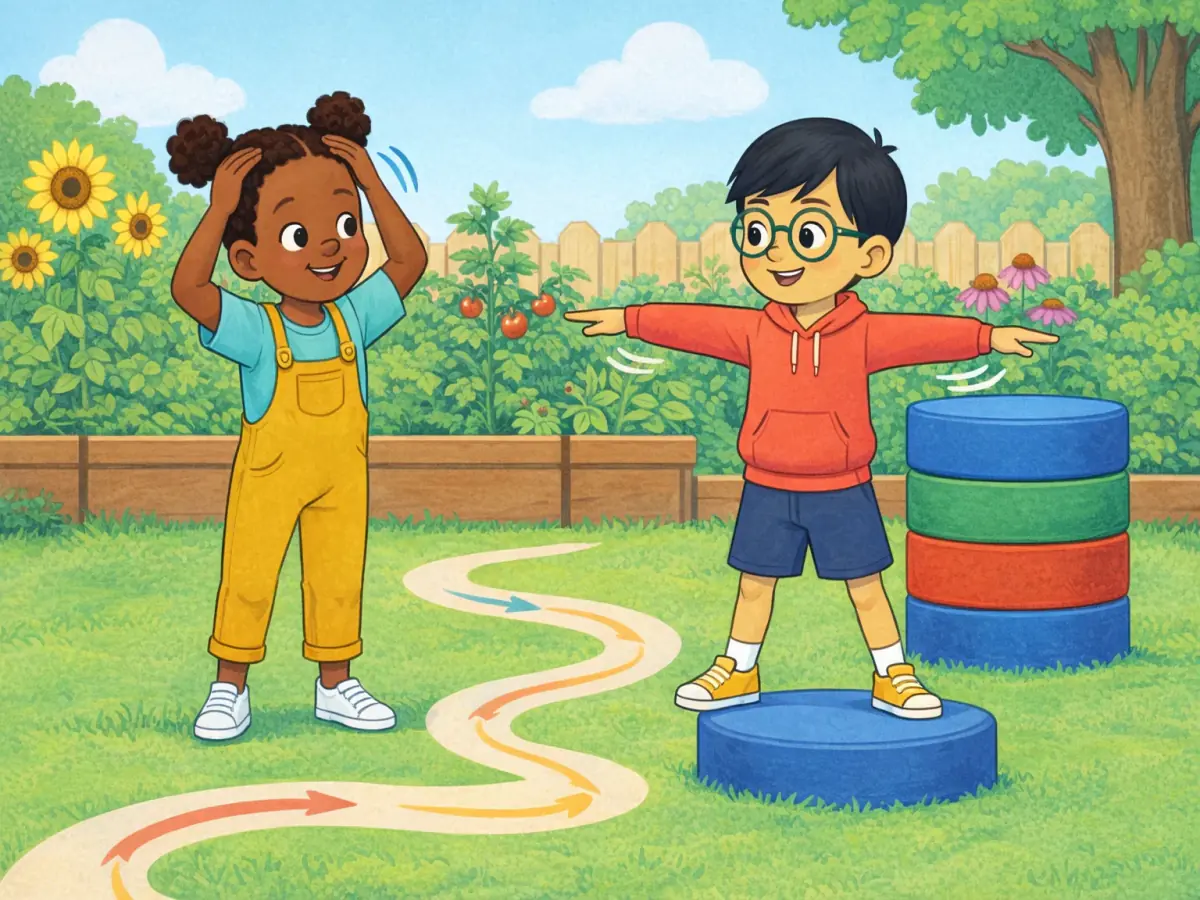
 head
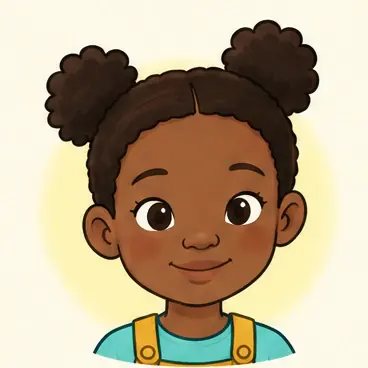
 body
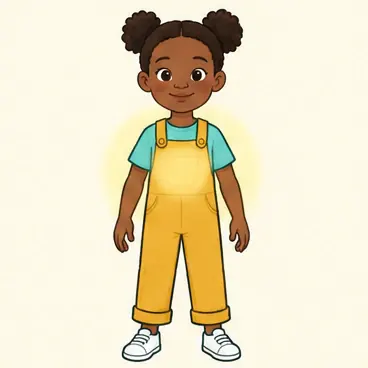
 arms
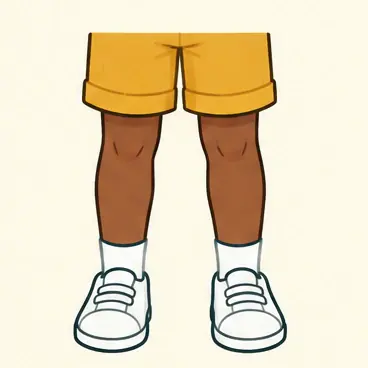 legs
Four big parts to start with
Start with the parts your child can see, touch and move. They are always with you, so you can practise in the bath or while getting dressed. Play each card above, then say the word as you touch that part.
“Body” here means the middle of you: tummy, chest and back. “Arms” and “legs” end in “s” because we have two of each. Give every word its own touch:
- head: pat it gently with both hands
- body: give yourself a big hug
- arms: stretch them out wide
- legs: pat them from your knees down
“Look at my…”: show first, then say
“Look at my…” does a real job from day one: it asks someone to look. Ask “What can you show?” and wait. A point, one word or “Look at my arms.” are all good answers, and pointing to the right part already shows understanding.
Listen to these two lines together, then play them again and point along.
Nia Look at my head.
Leo Look at my arms.
“I can move my…”: one gentle move per word
Once your child points without help, give each word a move. “I can move my legs.” says what your body can do, and the move helps the word stick. “Turn” here is a small twist: feet still, body turning gently to one side, then the other.
Listen to the two lines below, then copy the moves together.
Nia I can turn my body.
Leo I can move my legs.
Keep the moves small and safe
Body words make children want to jump, so prepare first: a clear patch of floor, bare feet or non-slip socks, and nothing to climb on.
Agree on two signal words before you start: “Stop!” with a raised hand means freeze, and “Slowly!” means move like a sleepy tortoise. Every move here happens on the floor:
- “I can move my arms.” – slow circles with straight arms
- “I can move my legs.” – march on the spot
- “I can turn my body.” – feet still, a gentle twist
- “I can move my head.” – a slow nod for yes, a slow shake for no
The “Show me!” game: five minutes at home
Play standing or sitting, and stop while your child still wants more. A child who prefers to stay still can point to the parts on a teddy instead: “Look at Teddy’s arms!”
- Play one card and point to that part on yourself: “Look at my head.”
- Say “Show me your head!” and let your child point to their own.
- Add the move: “I can move my head.” Nod together, then call “Stop!”
- After all four words, swap: your child calls a part or says “Look at my…”, you move it, and they decide when to call “Stop!”
- Finish sitting down with a quiet twist: “I can turn my body.”
Common mistakes
Most of these are small and easy to fix:
- Dropping “at”: in many languages “look” needs no extra word, so “Look my head” feels complete. Say “Look at my head” back and keep going.
- One arm or two: lift one arm for “arm” and both for “arms”. The gesture teaches the “s” without a rule.
- Mixing arms and hands, or legs and feet: stroke the whole arm for “arm”, and wiggle your fingers for “hand”.
- “My” and “your” swapped: children copy your exact words and may say “Look at your arms” about their own. Point to them: “Your arms!”, then to yourself: “My arms!”
- Too many words at once: four words used daily stick better than ten new ones in a week.
What comes next
When your child points to all four parts without help, move to the face: nose, mouth, eyes and ears, which bring in counting: “one nose”, “two eyes”. The song “Head, Shoulders, Knees and Toes” then adds a few more parts. The animals article below uses the same looking and pointing with new words.